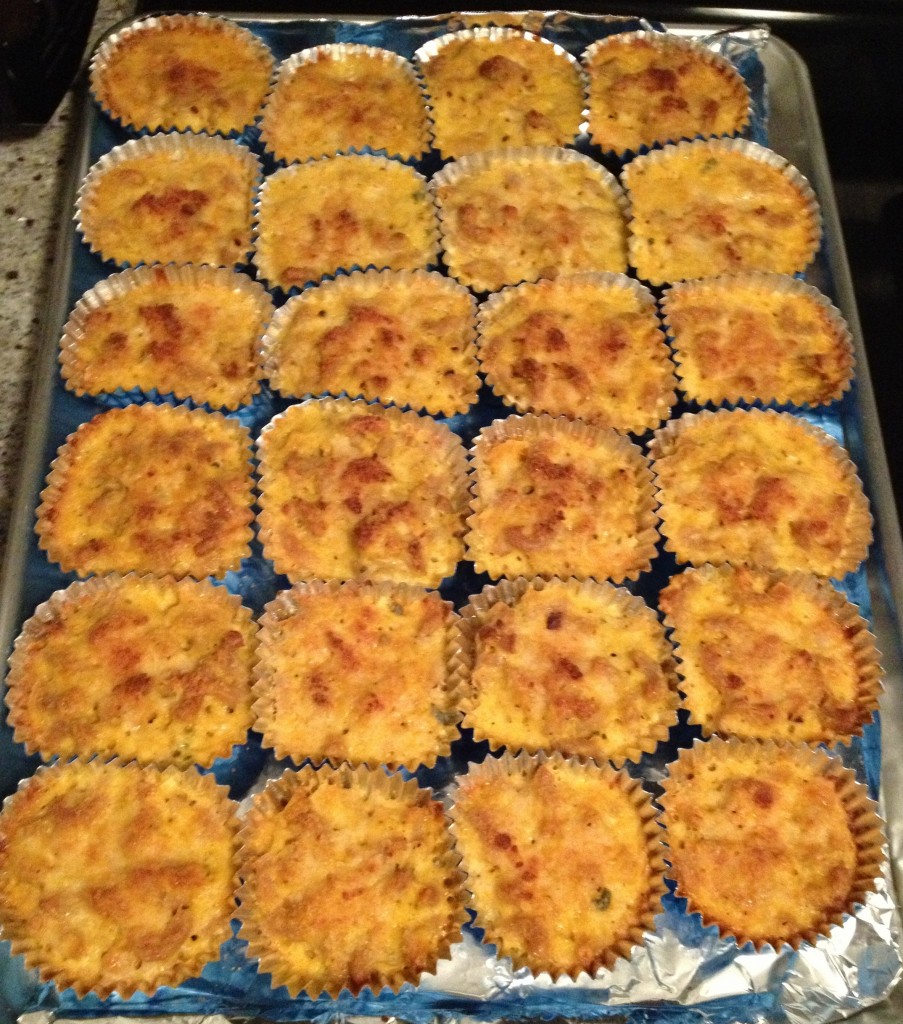
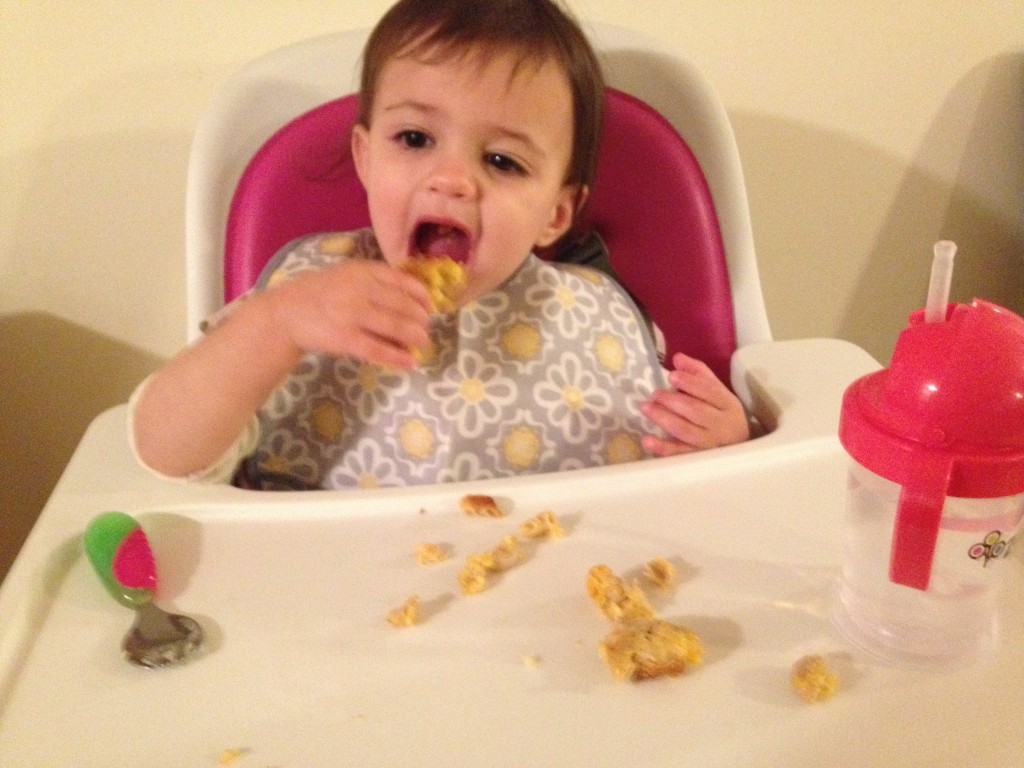
When I had been planning for our pre-Halloween parade party, I thought about playing around with a recipe I had made previously using butternut squash, but I decided to make this dish muffin-sized for a few reasons. First, a handheld snack would be easier for people to eat. Second, all foods are more appealing when they are small and cute. And, third, I figured muffin-sized was a good size for the toddlers. I would call them Mini Baked Pastas with Butternut Squash or “Minis” for short.
Well, as you know, our pre-parade party became a Halloween Play Date so the menu got revamped. I still had this dish, and the revisions I wanted to make, on my mind, so I finally cooked it. And you should know that this is not a fast and easy recipe. It is a labor of love to cook. I think of it as a “weekend recipe” because it takes around 3½ hours to prepare in total. But, this recipe can be broken up over 2-3 days to cut down on cooking time each day. It’s totally worth it, though, and the Minis can serve as lunch or dinner for a few days can be preserved in the freezer for up to 3 months.
So, here’s how it went…
By following my original recipe for Baked Penne with Butternut Squash, I figured I’d end up with around 24 muffin-sized tasty pasta creations. Haha! I was soooo wrong. Clearly, my geometry skills were NOT in effect that day. After I filled the 24 muffin cups, around half of the entire mixture was still left over. Okay, so I put the rest into a 9×9-inch baking dish. Oh, I was so wrong again! There was still more! Aaah! So, I poured the rest into a little 3×6-inch baking dish and hoped it would fit. It did. Mostly.
So, the “Minis” recipe below is for half of what I prepared that night, which should (fingers crossed) yield a more reasonable amount. Live and learn, right?
Mini Baked Pastas with Butternut Squash (aka Minis)
This is a 4-part recipe that can be prepared in stages across the day if necessary or over the course of 2-3 days. Part 1 is to prepare the squash mixture and takes around an hour. Part 2 is to cook the pasta according to the directions on the package minus 1-2 minutes of cooking time. Part 3 is to prepare the sauce and takes around 45-50 minutes. Part 4 is to put it all together and bake it, which takes around 1 hour and 10 minutes.
Here are all the ingredients you’ll need for this recipe:
- -Around 2 teaspoons of salt
- -Around ½ teaspoon ground black pepper
- -Around 1 teaspoon grated nutmeg
- -¾ tablespoon olive oil
- -½ large butternut squash, peeled, scooped out and chopped into 1-inch chunks
- -1 small-medium yellow onion, chopped
- -½ cup part-skim ricotta cheese
- -½ cup grated parmesan cheese, plus more for topping the pasta before it’s baked
- -1¾ cups 2% or part-skim mozzarella cheese, shredded
- -1 large egg
- -1 tablespoon fresh sage, minced
- -⅛ cup whole-wheat flour and ⅛ cup regular flour, mixed
- -2 tablespoons unsalted butter
- -1 small garlic clove (you’ll use around half of it)
- -¾ quart 2% or low-fat milk
- -½ box of whole-wheat pasta (for this batch I used elbow-shaped pasta)
- -Cooking spray or butter for greasing the muffin cups
Step 1: Preparing the squash mixture (around 1 hour):
- -1 teaspoon salt
- -½ teaspoon black pepper
- -½ teaspoon grated nutmeg
- -¾ tablespoon olive oil
- -½ large butternut squash peeled, scooped-out and chopped into 1-inch chunks
- -1 small-medium yellow onion, chopped
- -½ cup part-skim ricotta cheese
- -½ cup grated parmesan cheese
- -1 large eggs, lightly beaten
- -¾ cup 2% or part-skim mozzarella cheese, shredded
- -½ tablespoon fresh sage, finely chopped
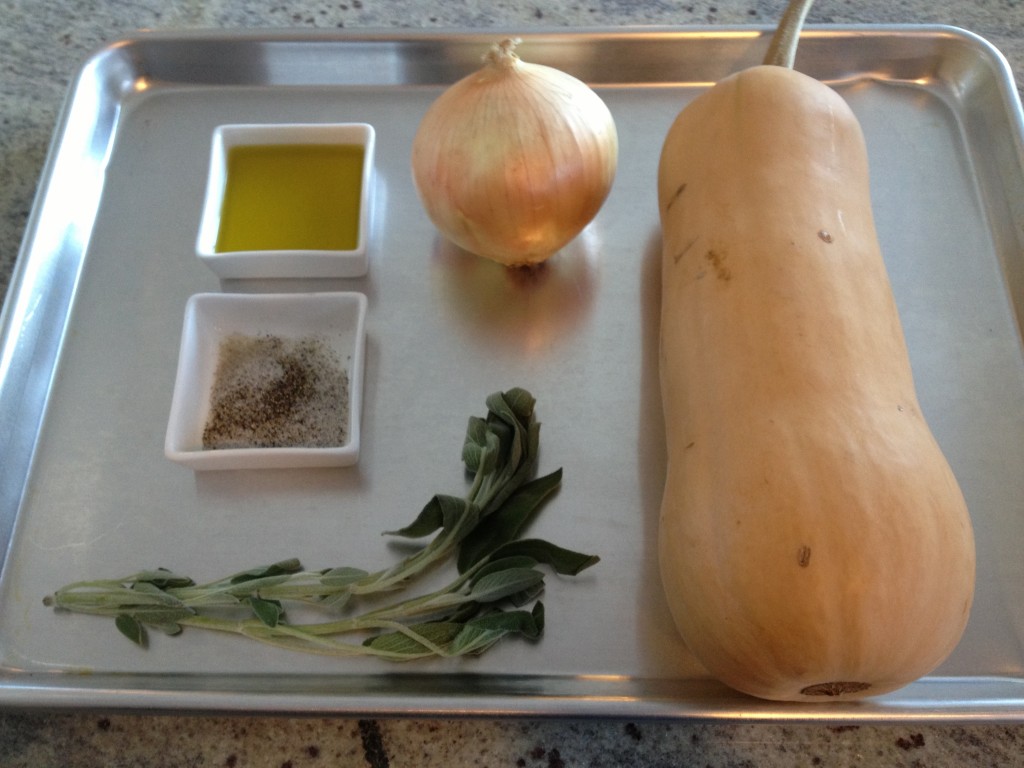
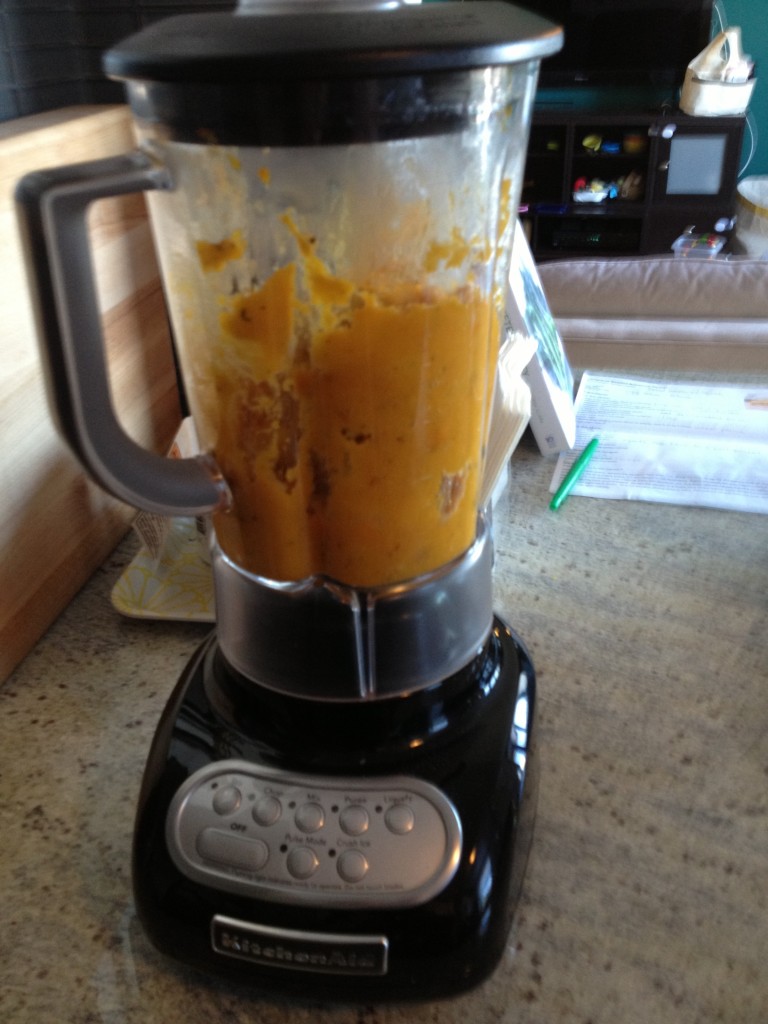
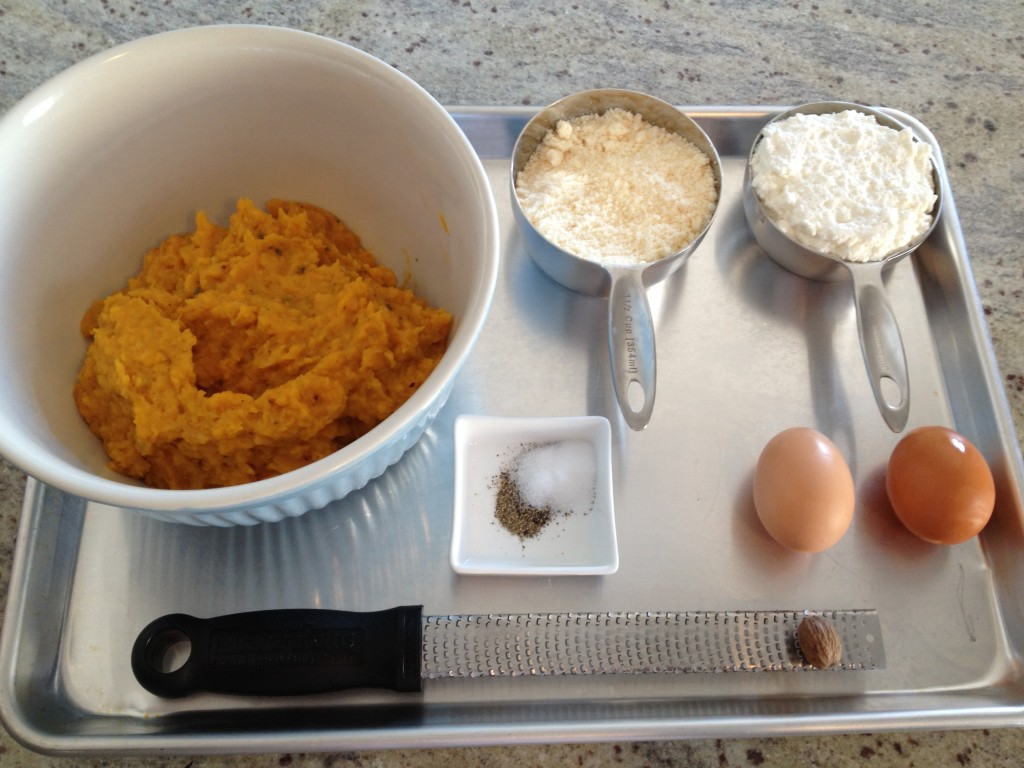
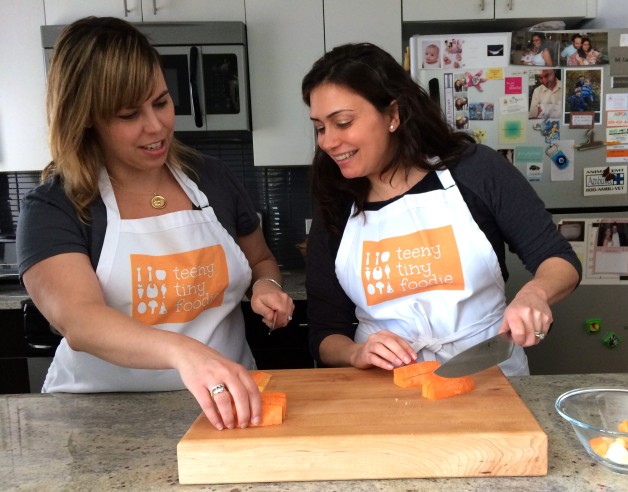
Heat the oven to 400°. Into a large bowl put the squash, onion, chopped sage, ¼ teaspoon of salt, olive oil and ¼ teaspoon of pepper. Toss and spread evenly onto an aluminum foil lined baking sheet that is rimmed. Roast for around 50-55 minutes, stirring a few times, until the squash is tender. When there are about 10 minutes left of cooking time, begin to prepare the rest of the mixture. Into a large bowl, put the ricotta, grated parmesan cheese, the mozzarella cheese, egg, ¼ teaspoon of pepper and ¾ teaspoon of salt. Stir and set aside. When the squash and onions are cooked, transfer them to a blender or food processor and puree until smooth. Pour puree into the bowl with the cheese and egg, add the grated nutmeg and stir. Cover the mixture and refrigerate.
You can do this up to 3 days ahead of time.
Step 2: Cooking the pasta (cooking time listed on the package minus 1-2 minutes)
Cook the pasta according to the directions on the package minus about 1-2 minutes of the cooking time. The pasta will cook a little more once it is in the oven. Pour the cooked and drained pasta into a large bowl and toss with around ¼ tablespoon of olive oil. If you won’t be finishing the recipe until later, refrigerate the pasta in an airtight container until you’re ready to use it. You can do this step up to 3 days ahead of time.
Step 3: Preparing the sauce (45-50 minutes)
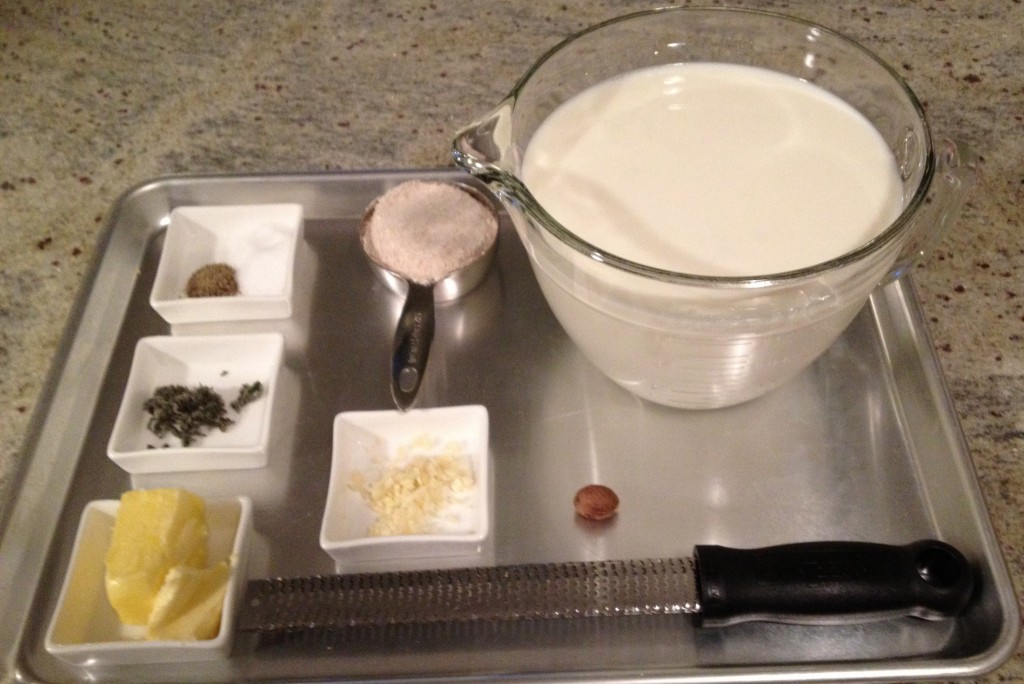
For the sauce you’ll need:
- -½ teaspoon grated nutmeg
- -⅛ cup whole-wheat flour and ⅛ cup regular flour, mixed
- -½ tablespoon fresh sage, minced
- -2 tablespoons unsalted butter
- -1 teaspoon salt
- -1 small garlic clove, finely chopped (you’ll use half of it)
- -¼ teaspoon black pepper
- -¾ quarts 2% or low-fat milk
In a large saucepan, heat the milk over medium-low heat, stirring occasionally, until it simmers. This can take around 30-40 minutes. Once the milk begins to simmer, melt the butter over medium heat in a large pot. I reuse my pasta pot. Once the butter melts, add the garlic and sage and cook for around 30 seconds, stirring often. Add in around 1½ cups of the simmering milk and stir. Add in the flour mixture and whisk vigorously so no lumps form. Then add in the rest of the milk, whisking continuously and bring the sauce to a boil. Add in the salt, pepper and nutmeg and stir. Continue cooking until the sauce thickens and coats the back of a spoon. This takes around 5 minutes. Remove the sauce from the heat.
You can make the sauce ahead of time. Let it cool, pour it into a Ziploc bag and store in the fridge for up to 3 days or in the freezer for up to 3 months.
Step 4: Putting it all together and baking the Minis (around 1 hour and 10 minutes)
Heat the oven to 375°. Grease the muffin cups with cooking spray or butter. Combine the cooked pasta and the squash mixture together in a very large bowl. Pour in about 1 cup of the sauce and stir. Keep adding the sauce around ½ cup at a time stirring in between. Place the muffin cups on an aluminum-foil lined baking sheet. Fill each muffin cup to around ¾ of the way full. Top each with any leftover sauce and sprinkle with parmesan cheese. Cover the cups with aluminum foil and bake for 1 hour. Uncover and bake for another 10 minutes or until they are golden.
Variations:
- -Top with organic arugula
- -Chop organic arugula and stir it into the squash mixture before you combine it with the pasta
- -Double the ingredients and pour the mixture into a greased 9×13-inch baking dish
Happy Cooking!
Tags: Thanksgiving
2 Responses to Mini Baked Pastas with Butternut Squash: Monday Meal
« Previous Technical Difficulties Have Food, Will Travel Next »

















This looks so yummy!
Thanks, Shannon!